Woodworker's Journal 2004 Summer, страница 54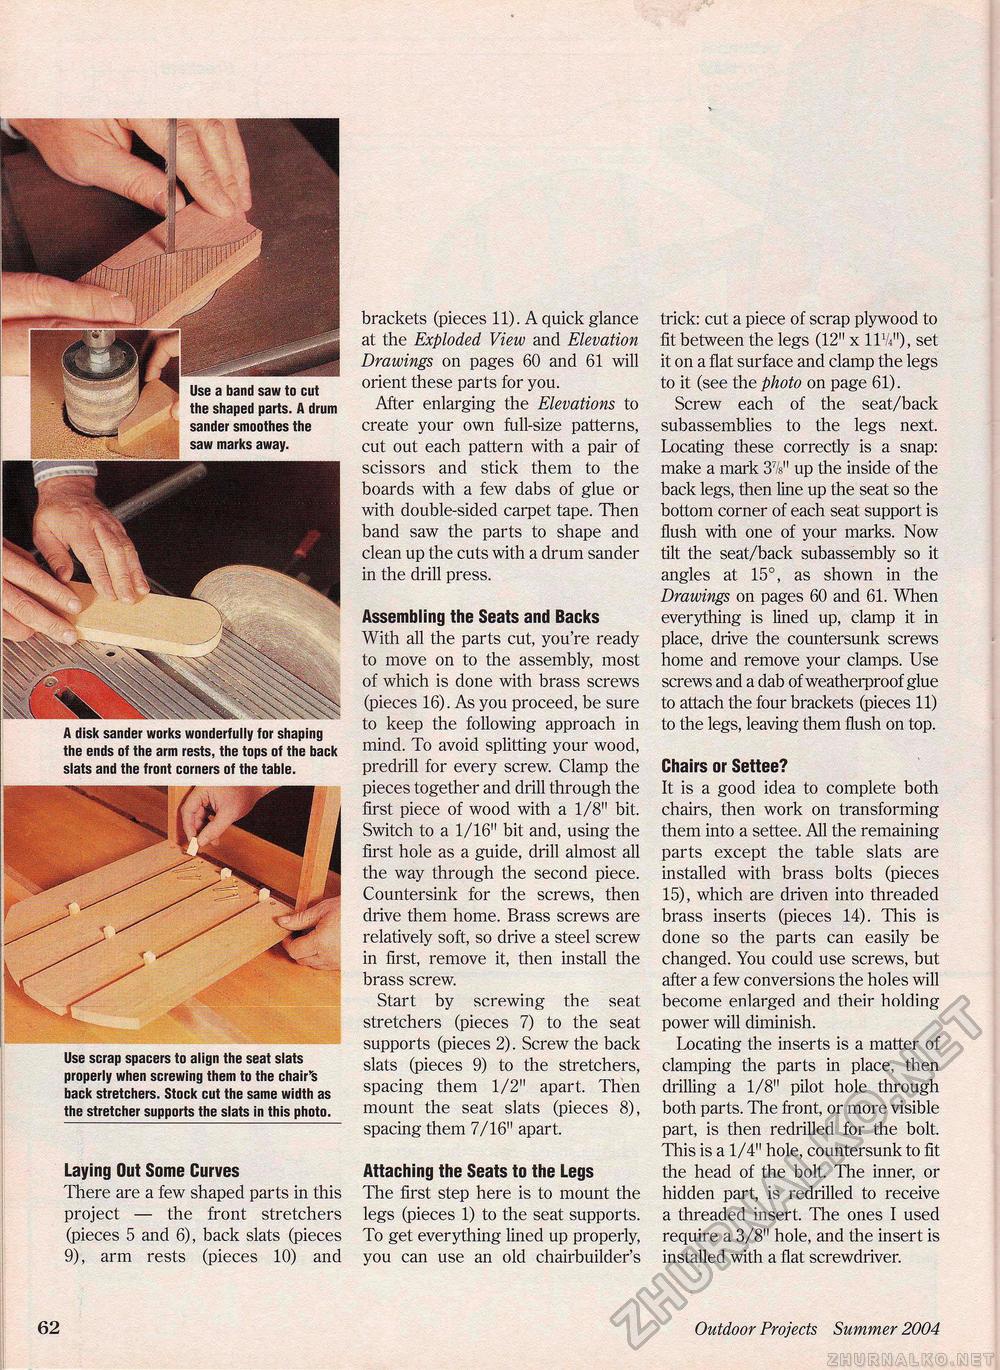
Use a band saw to cut the shaped parts. A drum sander smoothes the saw marks away. A disk sander works wonderfully for shaping the ends of the arm rests, the tops of the back slats and the front corners of the table. Use scrap spacers to align the seat slats properly when screwing them to the chair's back stretchers. Stock cut the same width as the stretcher supports the slats in this photo. Laying Out Some Curves There are a few shaped parts in this project — the front stretchers (pieces 5 and 6), back slats (pieces 9), arm rests (pieces 10) and brackets (pieces 11). A quick glance at the Exploded View and Elevation Drawings on pages 60 and 61 will orient these parts for you. After enlarging the Elevations to create your own full-size patterns, cut out each pattern with a pair of scissors and stick them to the boards with a few dabs of glue or with double-sided carpet tape. Then band saw the parts to shape and clean up the cuts with a drum sander in the drill press. Assembling the Seats and Backs With all the parts cut, you're ready to move on to the assembly, most of which is done with brass screws (pieces 16). As you proceed, be sure to keep the following approach in mind. To avoid splitting your wood, predrill for every screw. Clamp the pieces together and drill through the first piece of wood with a 1/8" bit. Switch to a 1/16" bit and, using the first hole as a guide, drill almost all the way through the second piece. Countersink for the screws, then drive them home. Brass screws are relatively soft, so drive a steel screw in first, remove it, then install the brass screw. Start by screwing the seat stretchers (pieces 7) to the seat supports (pieces 2). Screw the back slats (pieces 9) to the stretchers, spacing them 1/2" apart. Then mount the seat slats (pieces 8), spacing them 7/16" apart. Attaching the Seats to the Legs The first step here is to mount the legs (pieces 1) to the seat supports. To get everything lined up properly, you can use an old chairbuilder's trick: cut a piece of scrap plywood to fit between the legs (12" x 1174"), set it on a flat surface and clamp the legs to it (see the photo on page 61). Screw each of the seat/back subassemblies to the legs next. Locating these correctly is a snap: make a mark 37/s" up the inside of the back legs, then line up the seat so the bottom corner of each seat support is flush with one of your marks. Now tilt the seat/back subassembly so it angles at 15°, as shown in the Drawings on pages 60 and 61. When everything is lined up, clamp it in place, drive the countersunk screws home and remove your clamps. Use screws and a dab of weatherproof glue to attach the four brackets (pieces 11) to the legs, leaving them flush on top. Chairs or Settee? It is a good idea to complete both chairs, then work on transforming them into a settee. All the remaining parts except the table slats are installed with brass bolts (pieces 15), which are driven into threaded brass inserts (pieces 14). This is done so the parts can easily be changed. You could use screws, but after a few conversions the holes will become enlarged and their holding power will diminish. Locating the inserts is a matter of clamping the parts in place, then drilling a 1/8" pilot hole through both parts. The front, or more visible part, is then redrilled for the bolt. This is a 1/4" hole, countersunk to fit the head of the bolt. The inner, or hidden part, is redrilled to receive a threaded insert. The ones I used require a 3/8" hole, and the insert is installed with a flat screwdriver. 62 Outdoor Projects Summer 2004 £ |


